Finding vomit chunks in your washing machine is a nasty surprise that needs immediate attention. The mess is not just gross; it can clog the drain, leave a lingering smell, and spread germs to the next load of laundry. This guide explains exactly how to remove solid debris, disinfect every part of the machine that touched contaminated water, and eliminate the odor for good.
Cleaning a washing machine after a vomit incident is different from a routine tub clean. Solid chunks do not dissolve in the wash cycle. They break apart and lodge in places a normal cleaning cycle cannot reach, such as the drain filter, the pump impeller, and the folded rubber door seal. The steps below address each of those areas in the right order.
Why Vomit Chunks Cause Problems Beyond the Obvious Mess
Vomit is a biohazard. If the person who was sick had a stomach bug, the vomit may contain infectious pathogens such as norovirus, rotavirus, or salmonella. The CDC recommends washing items contaminated with vomit or feces with detergent and hot water for the machine’s maximum cycle length, then drying them on the highest heat setting the fabric can tolerate.
Solid chunks create mechanical problems as well. A washing machine drain filter is designed to catch lint, coins, and small objects. It is not built to handle organic solids. When vomit chunks reach the filter, they can pack into the mesh and block water flow. From there, debris can wrap around the pump impeller and stop it from rotating. A machine that will not drain after a vomit incident almost always has a blocked filter or pump, not a failed motor.
The odor is the third issue. Even after visible debris is gone, proteins and sugars from vomit remain in hidden crevices. Those residues feed bacteria, and the smell returns with every wash. The folded rubber gasket on a front-loader is a common hiding place because it traps water after each cycle. Without manual cleaning, that gasket keeps the odor alive indefinitely.
Step 1: Remove the Laundry and Inspect the Drum
Take everything out of the drum, including items that look clean. Contaminated water circulates through the entire load, so even clothes that were not directly soiled may carry pathogens. Place all items in a separate pile for pre-treatment later.
Put on rubber gloves before reaching into the drum. Shine a flashlight inside and look for chunks stuck to the perforated walls, sitting at the bottom, or lodged behind the agitator on a top-loader. Remove anything visible with paper towels. Do not push debris toward the drain holes, as that can make a clog worse.
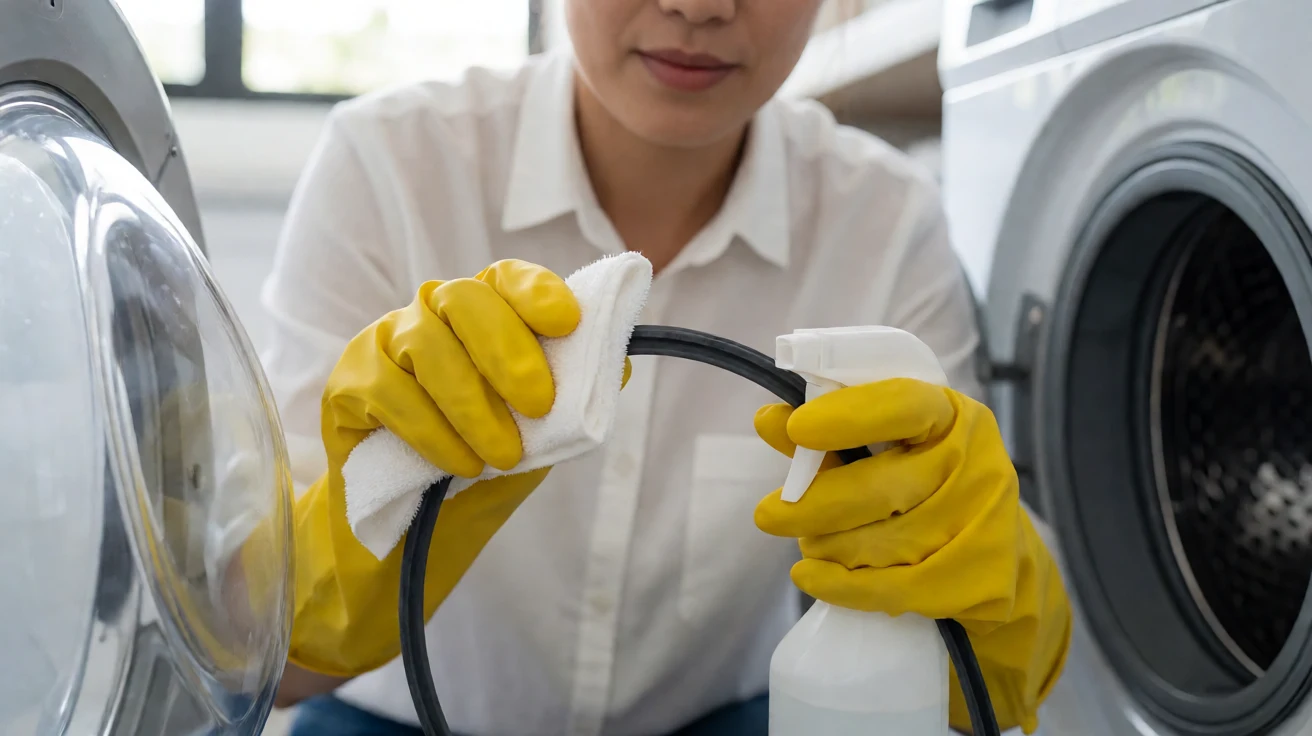
On a front-loading machine, pull back the rubber door gasket immediately. This folded boot is the most common place for vomit residue to collect. Run your gloved fingers along the inside of the fold and remove any solid matter. If you find dark spots that will not wipe away, those may be mold rather than vomit residue, and they will need a separate treatment.
Step 2: Clean the Drain Filter and Pump Area
The drain filter is the next priority. On most front-loaders, it sits behind a small access panel at the bottom front of the machine. On some top-loaders, it may be located inside the drum near the bottom or behind a rear panel. Check the user manual for your specific model if you cannot find it.
Before opening the filter, place towels on the floor and position a shallow container underneath. Opening the filter releases standing water, and that water will contain vomit residue. Many machines have a small emergency drain hose next to the filter. Pull it out, remove the cap, and let the water drain into the container before unscrewing the filter itself. Electrolux service documentation describes this exact sequence: place a container close to the pump filter, pull out the emergency emptying hose, remove its cap, and wait until no more water comes out before unscrewing the filter.
Once the water is drained, turn the filter counterclockwise and pull it out. Rinse it under running water and use a small brush to remove any debris caught in the mesh. Look into the empty filter housing with a flashlight. Vomit chunks and lint can pack into the recess, and the pump impeller behind the filter may also have debris wrapped around it. The impeller should rotate with a slight jerky motion when you touch it gently. If it does not move at all, the pump may be jammed and require professional attention.
Clean the filter housing with a cloth dipped in warm soapy water. Reinsert the filter, tighten it clockwise until it seats fully, and replace the drain hose cap. Run a short rinse cycle to confirm there are no leaks before moving on.
Step 3: Run a Disinfecting Cycle
With the solid debris removed, the machine needs a full disinfecting cycle. This step kills pathogens and breaks down the organic residue that feeds odor.
For a top-loader, pour two cups of white vinegar directly into the drum. For a front-loader, pour the vinegar into the detergent dispenser or directly into the drum. Select the hottest water setting available and choose the longest cycle. If your machine has a “Tub Clean” or “Clean Washer” cycle, use that instead of a regular wash cycle.
Do not add laundry during this cycle. The goal is to flush the entire system with hot water and vinegar. Vinegar is acidic enough to break down protein residue and neutralize many odor-causing compounds, but it is gentle on rubber seals and metal components when used at this concentration.
After the vinegar cycle finishes, run a second empty cycle with half a cup of baking soda. Baking soda is alkaline and works differently from vinegar. It neutralizes acidic odor molecules that vinegar may leave behind. Together, the two treatments address a wider range of residue than either one alone.
If the odor persists after both cycles, an oxygen-based bleach product designed for washing machines can be used as a third treatment. Follow the package instructions for dosage and cycle temperature. Chlorine bleach is also an option, but it should be used alone and only on machines with stainless steel drums. Bleach can damage rubber gaskets over time and is not compatible with every machine type. The CDC recommends a chlorine bleach solution of 5 to 25 tablespoons of household bleach per gallon of water for disinfecting surfaces that have had contact with vomit or feces. That concentration is for surface disinfection, not for pouring directly into a washing machine drum, so use a washing-machine-specific product if you choose the bleach route.
| Cleaning Task | When to Do It | Key Detail |
|---|---|---|
| Remove solid debris from drum and gasket | Immediately, before any cycle | Wear gloves and dispose of waste in a sealed bag |
| Clean drain filter and pump housing | Before the disinfecting cycle | Place a container underneath to catch contaminated water |
| Vinegar disinfecting cycle | Once, after debris removal | Use hottest water setting and an empty drum |
| Baking soda odor-neutralizing cycle | Once, after the vinegar cycle | Half a cup in an empty drum on a warm cycle |
| Gasket and dispenser drawer wipe-down | Same day, then weekly for one month | Pull the gasket fold back and dry thoroughly |
| Run a maintenance cycle | Monthly going forward | Prevents residue buildup from normal use |
Step 4: Clean the Detergent Drawer and Door Seal by Hand
The disinfecting cycle does not reach every surface. The detergent drawer and the door seal need manual cleaning.
Remove the detergent drawer completely. Most drawers release by pressing a tab in the softener compartment or by pulling firmly while the drawer is extended. Soak the drawer in hot soapy water and scrub it with a brush. Pay attention to the underside of the drawer and the housing it slides into. Vomit-contaminated water can splash into this area during the wash cycle, leaving behind a film that smells over time.
For the door seal, mix equal parts water and white vinegar in a spray bottle. Pull the rubber gasket back and spray the solution into the fold. Wipe it out with a clean cloth. If you see dark spots that do not come off, those may be mold rather than vomit residue. Vinegar alone will not remove established mold from a rubber gasket; a diluted bleach solution or a commercial washing machine cleaner may be needed.
Dry the gasket thoroughly after cleaning. Leaving it wet creates the damp environment that mold and bacteria need to grow. Leave the door ajar between washes to let air circulate. This single habit does more to prevent odor than almost any cleaning product.
Step 5: Pre-Treat the Contaminated Laundry Before Rewashing
The clothes and bedding that carried the vomit need their own treatment before they go back into the machine. Washing them without pre-treatment risks recontaminating the drum you just cleaned.
Scrape off any remaining solid matter with a spoon or paper towel. Rinse the items in cold water. Cold water is important at this stage because hot water can set protein stains, making them harder to remove later. Vomit contains protein, and heat causes proteins to coagulate and bind more tightly to fabric fibers.
After rinsing, apply an enzymatic stain remover directly to the soiled areas. Enzymatic cleaners break down the proteins and fats in vomit at a molecular level, which is more effective than detergent alone for this type of stain. If you do not have an enzymatic cleaner, sprinkle baking soda over the damp stain and let it sit for at least thirty minutes. Baking soda absorbs odor and helps lift residue from the fabric.
Wash the items on the hottest setting the fabric can tolerate, ideally at least 60 degrees Celsius. Add a heavy-duty detergent and half a cup of white vinegar to the wash. Check the items after the cycle. If any odor remains, wash them again before drying. Heat from a dryer will set any lingering smell into the fabric permanently, so air drying is the safer choice until you are certain the odor is gone.
Common Mistakes That Make the Problem Worse
One of the most common mistakes is putting vomit-covered items straight into the washing machine without removing solids first. This pushes chunks into the drain system and can clog the pump. The machine may stop draining entirely, requiring a manual filter clean or a service call. The filter and pump are not designed to handle organic solids, and a clogged pump can cause the machine to stop mid-cycle.
Another mistake is using hot water in the initial rinse. Hot water sets protein stains and makes them more difficult to remove. Always start with cold water for the pre-rinse, then switch to hot water for the main wash.
Mixing bleach and vinegar is dangerous. Some people try to combine them for a stronger clean, but the combination produces chlorine gas, which is toxic. Use one or the other, and always rinse thoroughly between treatments. The CDC recommends a specific bleach dilution for surfaces contaminated with vomit, but that guidance is for hard surfaces and not for mixing with other cleaning products.
Skipping the door seal is another frequent oversight. The gasket holds moisture and debris, and if it is not cleaned manually, the odor will return within a few washes. Running a cleaning cycle alone does not scrub the gasket. It needs hands-on attention with a cloth and a cleaning solution.
When to Call a Professional
Most vomit-related washing machine problems can be resolved with the steps above. However, there are situations where professional help is the safer choice.
If the machine will not drain after you have cleaned the filter, the pump impeller may be jammed by debris that is not accessible from the filter housing. Clearing it may require disassembling the pump, which involves disconnecting water lines and electrical components. Electrolux service documentation notes that a drain pump blocked by foreign objects or fluff is not covered by warranty and is considered user-caused, because the user manual instructs regular filter cleaning. That detail is worth knowing before you call for service.
If the odor persists after multiple cleaning cycles and manual cleaning of all accessible parts, the residue may have reached the space between the inner and outer tub. Accessing that area requires partial disassembly of the machine, which is best left to a technician.
If the vomit was from a person with a confirmed infectious illness such as norovirus, and the machine is used by someone with a compromised immune system, professional disinfection provides an extra layer of assurance. A technician can apply commercial-grade disinfectants that are not available to consumers.
Frequently Asked Questions
Can I just run a hot cycle without removing the chunks first?
No. Solid chunks will clog the drain filter and possibly the pump. Always remove visible debris before running any cycle. The filter and pump are not designed to handle organic solids, and a clogged pump can cause the machine to stop mid-cycle.
Is vinegar enough to kill norovirus and other stomach bugs?
Vinegar is effective at breaking down residue and neutralizing odors, but it is not a registered disinfectant for norovirus. For known infectious illnesses, use a chlorine-based disinfectant or an EPA-registered product effective against norovirus. High heat in the wash cycle also helps reduce pathogen load but may not eliminate all viruses on its own.
How do I know if the smell is coming from the machine or the drain in my house?
Run an empty hot cycle with no cleaning products. If the smell appears during the fill or drain phases, it may be coming from your plumbing rather than the machine. If the smell is strongest when you open the door after a cycle, the source is inside the washer.
Can I use a washing machine cleaning tablet instead of vinegar and baking soda?
Yes. Commercial washing machine cleaners are formulated to remove residue and odor. They are convenient and effective. The vinegar and baking soda approach is a low-cost alternative that works well for mild cases. For a severe vomit incident, a commercial cleaner followed by a manual gasket clean is often the most thorough combination.
Should I clean the washing machine before or after washing the vomit-covered laundry?
Clean the machine first. If you wash contaminated laundry in a machine that still has vomit residue in the filter or gasket, the wash water will redistribute that residue onto the clothes. Removing the debris and running a disinfecting cycle first ensures the machine is clean before the laundry goes back in.
The Takeaway
Getting vomit chunks out of a washing machine comes down to three priorities: remove the solids before they spread, disinfect every surface that contaminated water touched, and dry the machine thoroughly afterward. The filter and door gasket are the two areas most people miss, and they are the two areas most likely to cause lingering odor.
Once the machine is clean, run a maintenance cycle monthly to prevent residue buildup from normal use. Leave the door open between washes. If the machine continues to smell or fails to drain after a thorough clean, the problem is likely mechanical rather than hygienic, and a technician should take a look.